

Think you can eyeball a carry-on at the gate and get away with it? Most travelers can’t.
Measure your bag the way a gate agent will: fully packed, handle down, wheels included.
Do this at home with a tape, a book for a flat edge, and one simple math step: add height + width + depth.
This post shows the quick method, the common traps (handles, expanders, soft sides), and the one-inch safety margin that keeps you out of the check line and avoids surprise gate fees.
Core Steps to Measure a Carry‑On so It Passes an Airline Sizer
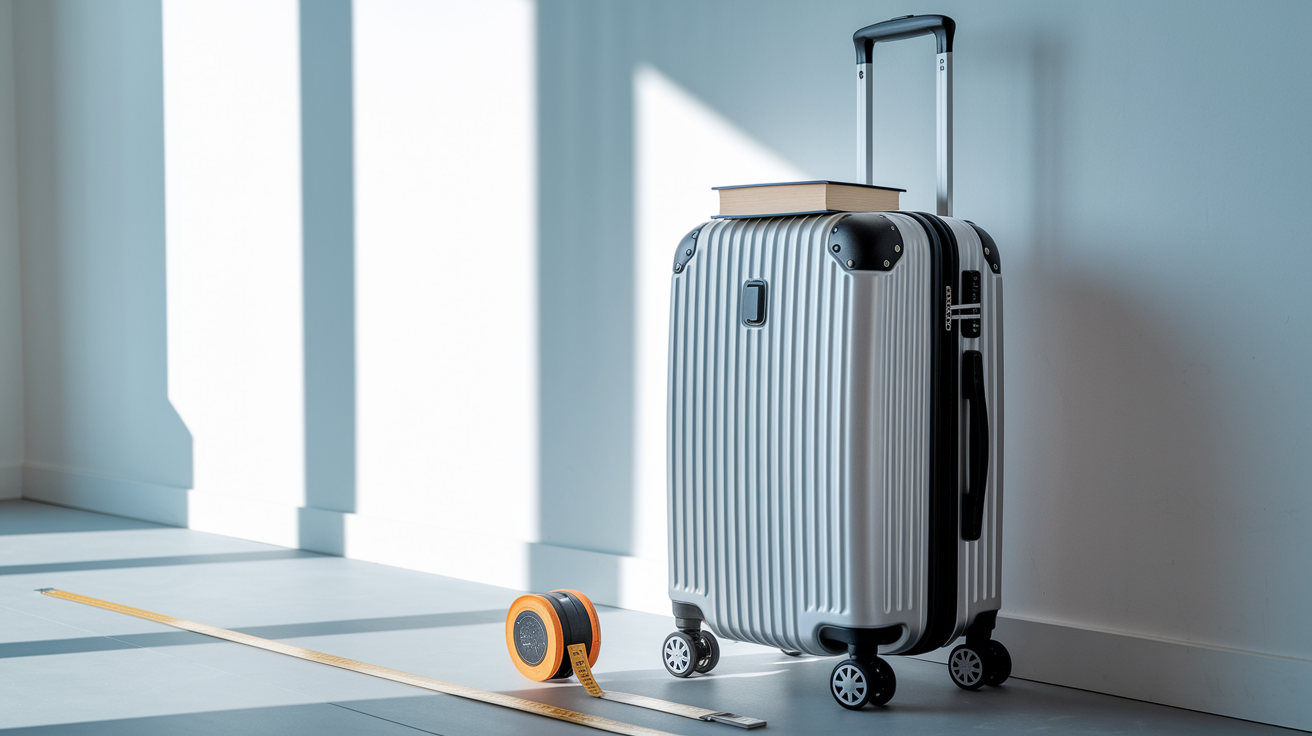
Measuring your carry‑on the right way means treating your packed bag the same way a gate agent will. Set your fully packed suitcase on a hard, flat floor against a wall. Push the telescoping handle down all the way, close every zipper, and compress bulging pockets or expandable sections like you’re trying to slide it into a tight overhead bin.
You need three tools: a flexible tape measure (the sewing kind works best), a hardcover book or clipboard for a straight edge, and pen and paper for your numbers. Most people measure an empty bag or skip wheels and handles, then get surprised at the gate when a stuffed bag won’t fit the sizer frame.
- Stand the bag upright on the floor and push it against the wall so it’s steady and vertical.
- Place the book flat on top of the bag at its highest point (usually the top of the retracted handle or the top shell edge).
- Measure from the floor to the bottom of the book to get height. This includes wheels and everything else at the bottom.
- Lay the bag flat on its back and measure the widest side to side point to get width, including any external pockets or corner bumps.
- Still lying flat, measure front to back to get depth, again including bulges, zippers, and any protruding hardware.
- Add all three numbers together. That total is your linear inches. For example, 22 in + 14 in + 9 in = 45 in.
Round each dimension up to the nearest whole inch when you write it down. If your tape lands at 13.5 inches, call it 14. Airlines use whole numbers. Gate agents don’t give partial credit. A bag measured at home as 22 x 14 x 9 in should pass a domestic sizer rated for 45 linear inches, but leave yourself a one inch safety margin whenever possible because packed bags settle differently under pressure.
How Bag Construction Affects Measurement Accuracy
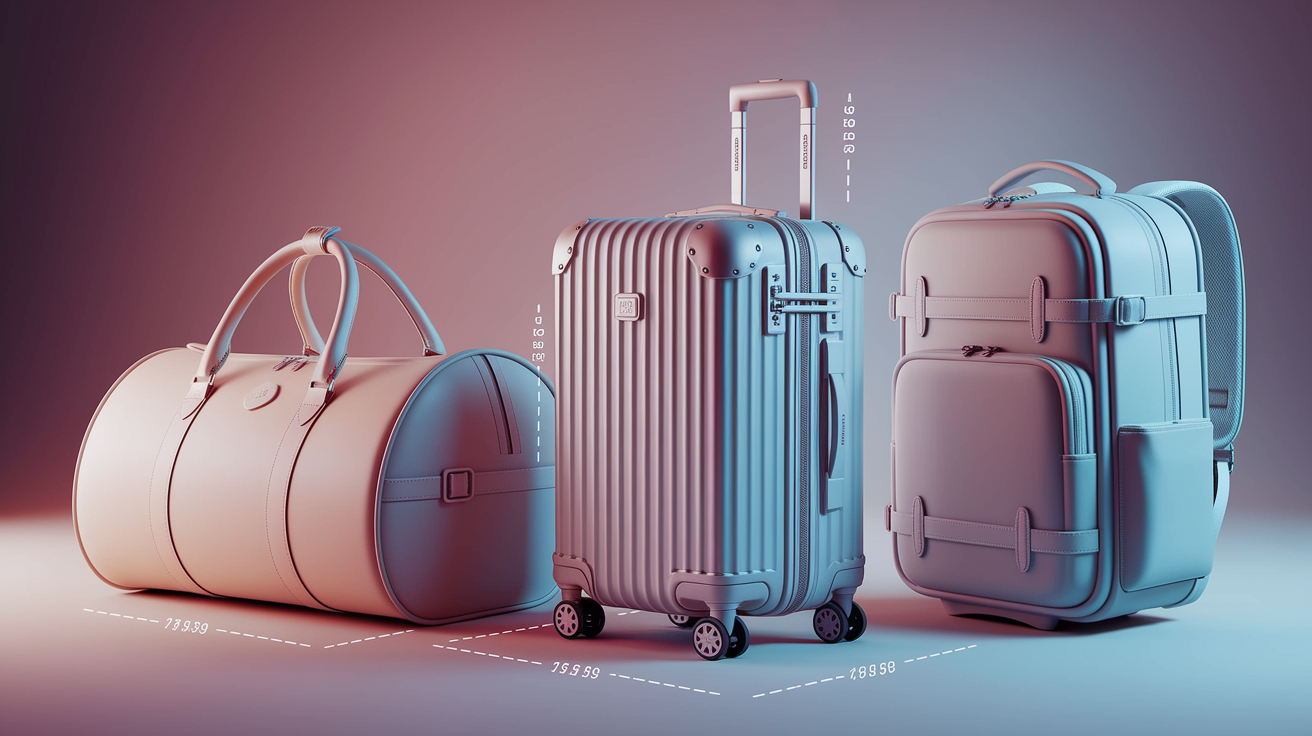
Soft‑sided duffels and fabric backpacks deform when you pack them, so your measurements will change between empty and full. A canvas bag that measures 20 inches tall when unzipped and floppy can balloon to 23 inches when stuffed with clothes and toiletries. Always measure after you pack, because that’s the shape the sizer frame will see. Hard‑shell polycarbonate and aluminum cases hold their dimensions, but they also can’t compress to squeeze into a tight space.
Telescoping handles add rigid height even when collapsed. Most retracted handles stick up 1 to 2 inches above the top shell, and that height counts in the measurement. If your hard‑shell case is marketed as “21 inches,” confirm whether that number includes or excludes the handle housing. Spinner wheels typically add another 2 to 3 inches to the bottom. Inline skate wheels can add up to 4 inches on large cases.
Irregular shapes make it harder to find the true widest point. Corner protectors, side grab handles, and external USB charger pockets all create bumps that can push your bag over the limit even when the main compartment fits. Run your tape measure along every edge and record the longest reading you find. Expander zippers let you increase depth by 1 to 3 inches for the return trip, but if you deploy the expander, measure the new depth before you head to the airport.
Common Airline Carry‑On Sizer Dimensions and What They Mean
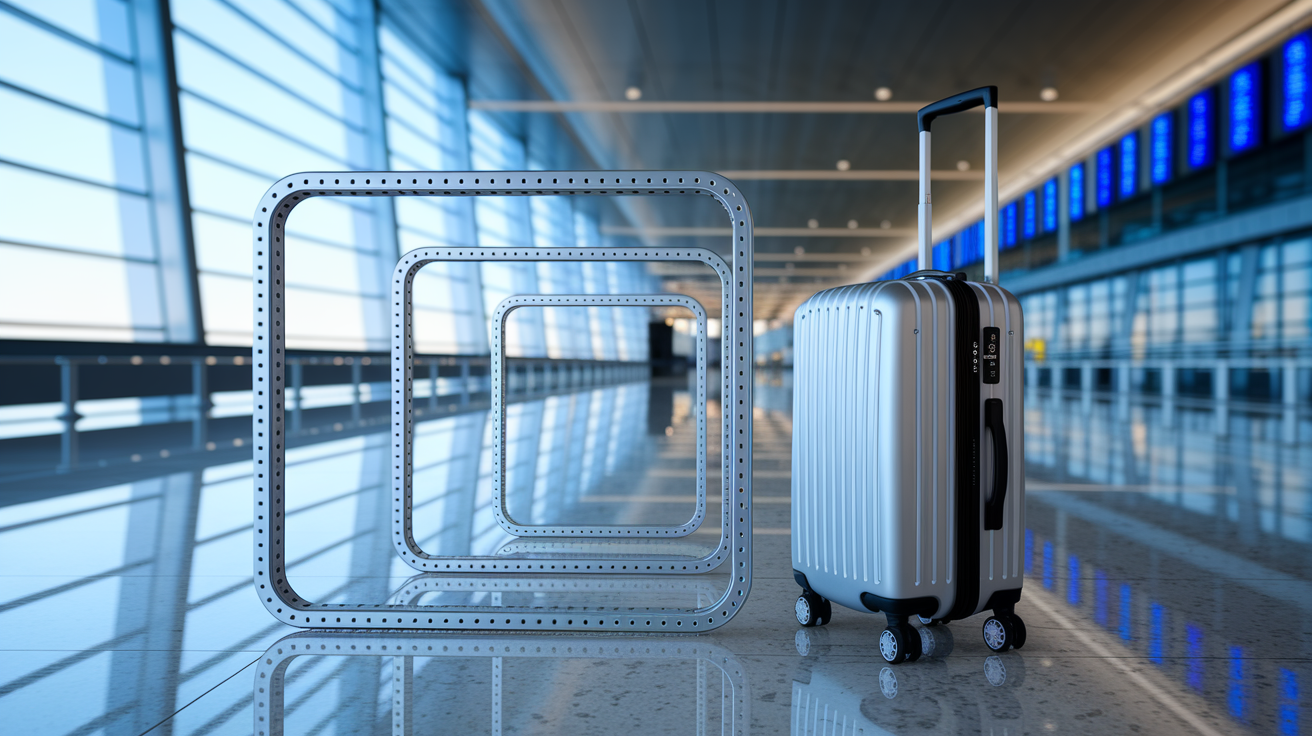
Different airlines and regions use different sizer frames. Even one airline may enforce stricter rules on regional jets than on widebody planes. The table below shows typical maximum dimensions you’ll encounter, but always cross‑check your specific carrier’s baggage page before you pack.
| Airline Region | Typical Limit (H x W x D) | Notes |
|---|---|---|
| U.S. Domestic (Major Carriers) | 22 x 14 x 9 in (45 linear in) | Generous overhead bins; spinner‑wheel cases usually fit |
| International (Most Full‑Service) | 21 x 13 x 9 in (~43 linear in) | Slightly smaller to accommodate metric bin standards |
| European Budget (Ryanair, EasyJet) | 22 x 16 x 8 in (46 linear in) or smaller | Strict enforcement; many charge for cabin bags above “personal item” size |
| Regional Jet / Small Aircraft | 18 x 14 x 8 in (40 linear in) | Smaller bins; may require gate‑check even if bag meets mainline limits |
Linear inches let airlines set one total size limit without worrying about exact shape. A 25 x 10 x 10 in bag and a 21 x 16 x 8 in bag both sum to 45 linear inches, but the second shape fits overhead bins better because it’s flatter. When an airline says “62 linear inches for checked bags,” they mean height plus width plus depth can’t exceed 62 in total, no matter how you arrange those dimensions.
Use the table to identify which sizer standard applies to your trip. If you’re connecting from a U.S. mainline flight to a European budget carrier, pack to the stricter European limit. Budget carriers enforce size rules more aggressively than legacy airlines because they make revenue from forcing passengers to pay gate fees or buy extra allowances, so assume zero tolerance if you’re flying Spirit, Frontier, Ryanair, or similar carriers.
Tools to Measure a Carry‑On Accurately at Home
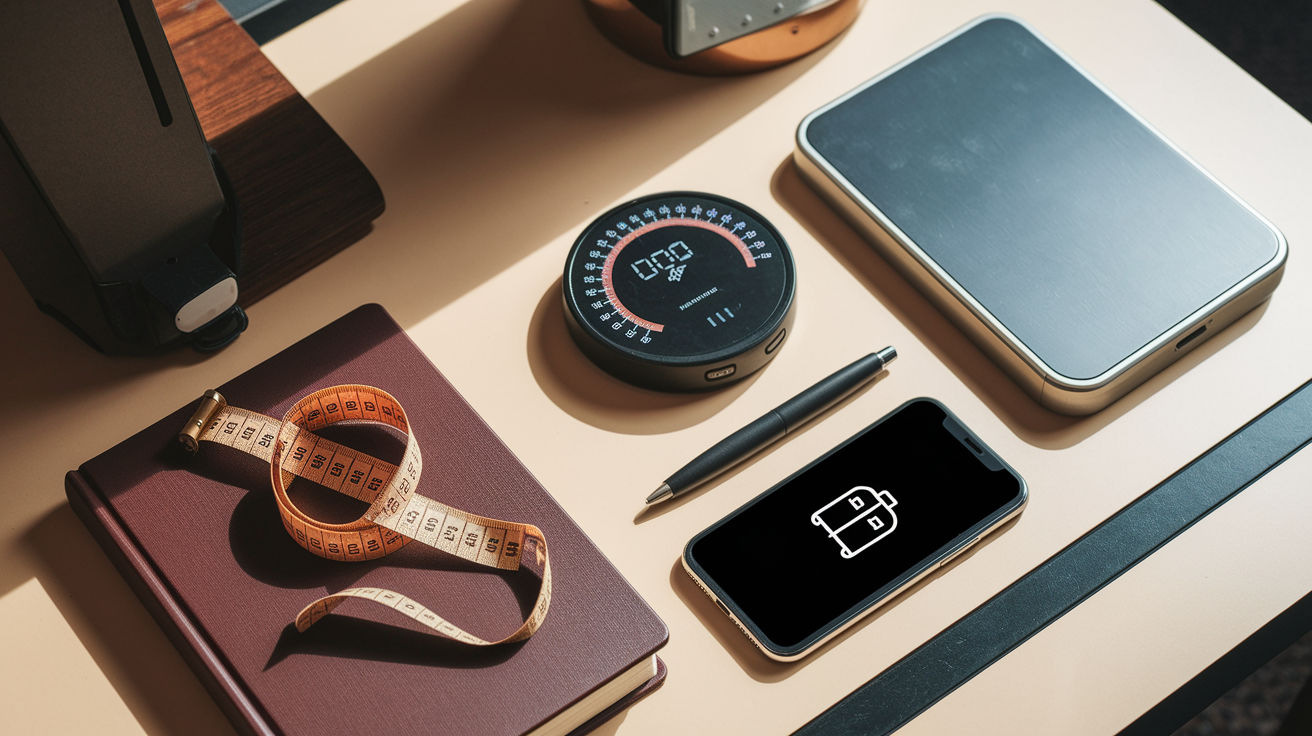
A flexible tape measure gives better readings on curved corners and bulging pockets than a stiff metal ruler. Buy one that shows both inches and centimeters so you can cross‑check against metric limits without converting by hand. If you only have a metal tape, use it for straight edges and supplement with a string you can measure afterward for curves.
A digital luggage scale costs less than one overweight bag fee and weighs your packed bag in seconds. Hook the strap to your suitcase handle, lift until the bag hangs free, and wait for the display to stabilize. If you don’t own a luggage scale, use the bathroom scale subtract method: weigh yourself, then weigh yourself holding the bag, and subtract the first number from the second.
- Flexible cloth or vinyl tape measure (shows inches and centimeters)
- Hardcover book or clipboard (creates a flat reference plane for height measurement)
- Digital luggage scale with strap hook (reads up to 110 lbs or 50 kg)
- Bathroom scale (backup weighing method, accurate to ±0.5 lb)
- Airline mobile app (shows your specific fare’s size and weight limits)
How to Test if a Carry‑On Will Fit an Airline Sizer Before Leaving Home
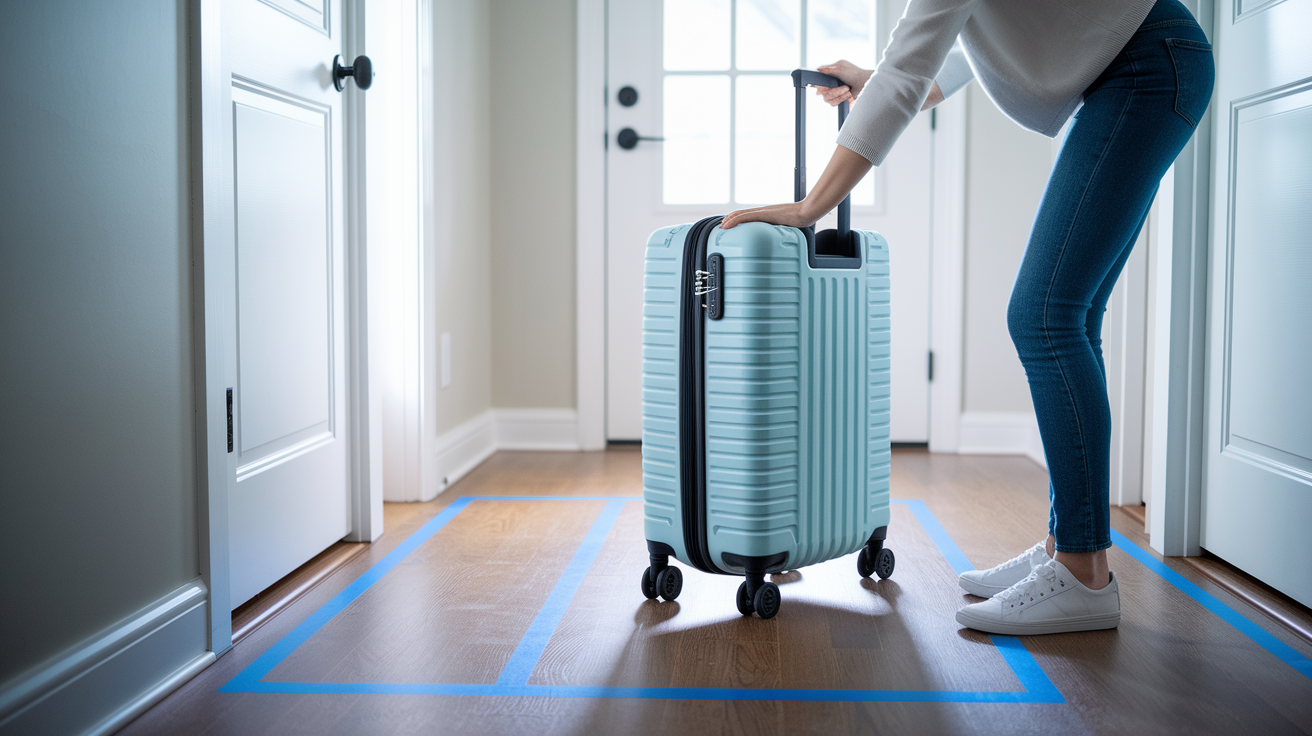
You can simulate an airline sizer using a doorway, a cardboard box frame, or floor tape that marks the maximum footprint. Measure your airline’s stated dimensions, then use painter’s tape on the floor to outline the width and depth allowance. Stand your packed bag inside the taped rectangle and confirm it doesn’t overhang. If your bag has four spinner wheels, test it wheels first because that’s how gate agents often check.
Soft bags allow mild compression, but you shouldn’t rely on squeezing a 24 inch tall backpack into a 22 inch sizer. Compress fabric bags only enough to flatten air pockets and smooth bulges. If you have to sit on your bag to zip it, it’s already too full to guarantee sizer compliance. After packing, press down gently on the top to simulate how the bag will settle in an overhead bin, then measure again while maintaining that light pressure.
- Push the telescoping handle all the way down and tuck in any loose straps or clips.
- Close all zippers, compress any expandable sections, and flatten external pockets.
- Stand the bag upright and gently press the top to remove air gaps. Hold that compression while you measure height.
- Lay the bag flat and measure width and depth at the absolute widest and deepest points, including corner bumps.
- Add height + width + depth and compare the total to your airline’s linear inch limit.
- Check for bulges by running your hand around all six sides. Any protrusion that sticks out more than half an inch should be repacked or removed.
- Reweigh the packed bag and confirm it’s under the airline’s weight cap (usually 15 to 22 lbs for carry‑ons).
If your measurements land within 1 inch of the limit, repack to gain margin. Gate sizers are unforgiving metal or plastic frames. A bag that “almost” fits still gets gate‑checked.
Avoiding Gate‑Check Fees by Measuring Correctly
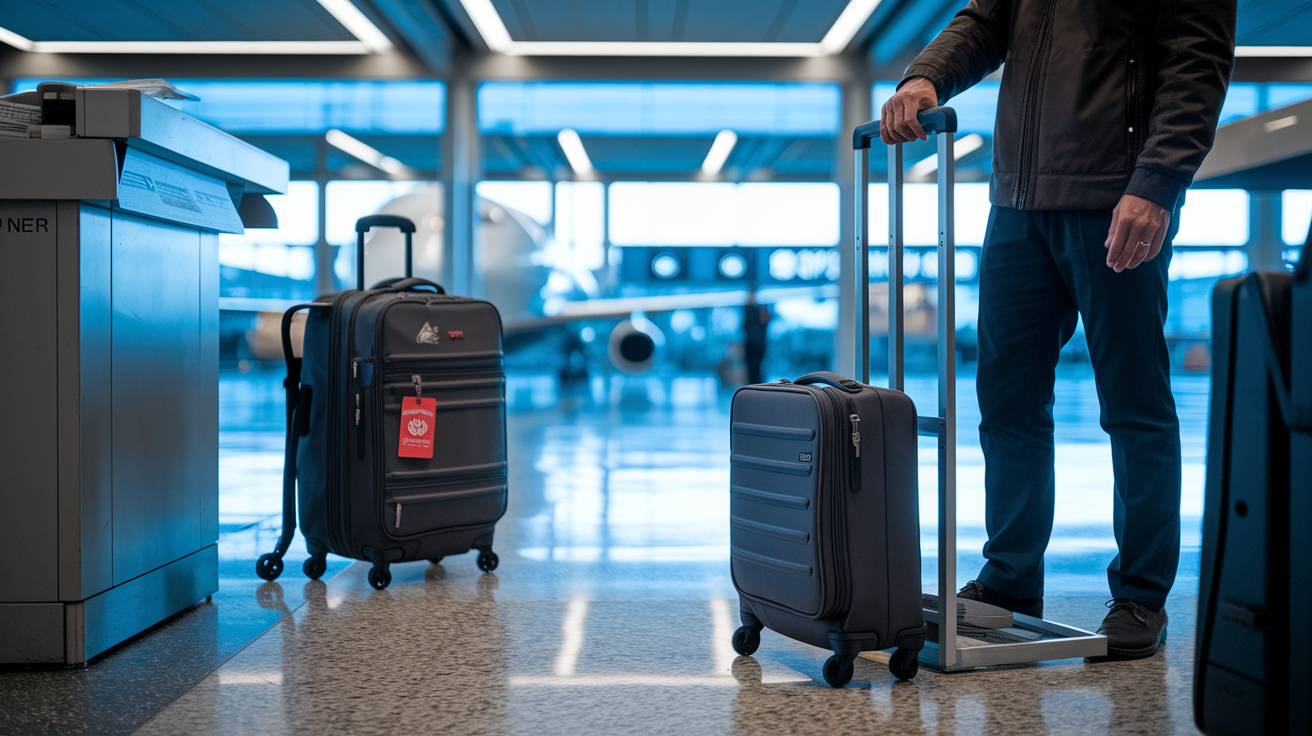
Gate agents enforce size limits when overhead bins fill up or when they spot an obviously oversized roller bag in the jetway. Ryanair charges €69.99 to gate‑check an oversize carry‑on, and Spirit charges $99. Both fees are higher than what you’d pay if you bought a checked bag allowance online before your trip. Accurate measurement at home means you either pack light enough to comply or you buy extra allowance in advance at the cheaper rate.
Some airlines removed the metal gate sizer frames to speed up boarding, but that doesn’t mean they stopped enforcing the rules. Gate agents now use visual judgment and will ask you to check a bag if it looks too big, so staying visibly under the limit protects you even without a physical test frame. Wheels first testing is common: the agent slides your bag into the sizer frame wheels down, and if the top of the bag or handle sticks above the frame’s opening, you fail.
Leave a one inch margin on each dimension when you measure at home. A 22 x 14 x 9 in limit means you should target 21 x 13 x 8 in to account for measurement differences, fabric stretch, and the fact that your bag sits differently when a gate agent shoves it into the frame. That margin costs you very little packing space but eliminates the risk of a surprise $99 charge when you’re already running late for boarding.
Measuring Backpacks, Duffels, and Other Non‑Rigid Carry‑Ons
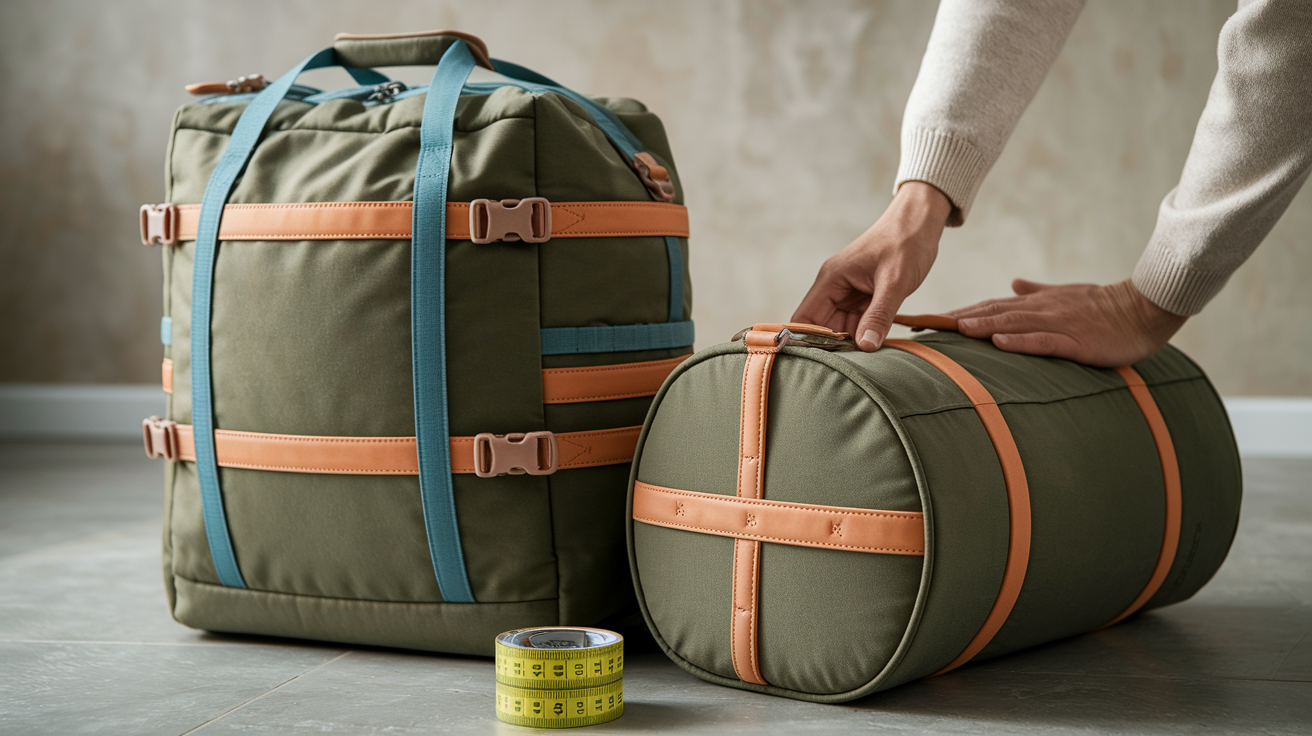
Backpacks and duffels must be measured when fully packed because the fabric has no structure and the final shape depends entirely on what’s inside. An empty 40 liter duffel can fold flat to 2 inches deep, but when stuffed with shoes and jackets it may balloon to 12 inches. Lay the packed bag on a hard floor, press it gently to remove excess air, then measure the height, width, and depth just as you would a hard‑shell case.
Straps, compression belts, and shoulder harness systems add bulk that counts toward your dimensions. Tuck backpack shoulder straps into the back panel or side compression straps, and cinch down any external bungee cords or lash points. Briefcases and soft sided laptop bags often have rigid frames only at the base or along one edge, so identify the true widest point by feeling for structural supports and measuring there.
- Always pack the bag completely before measuring. Empty measurements are meaningless for soft luggage.
- Flatten shoulder straps, waist belts, and external loops against the body of the bag.
- Measure at the widest and deepest points, which may shift depending on how you arrange contents inside.
- Account for fabric stretch by measuring after the bag has been packed for a few hours and the material has settled under load.
Packing Strategies to Ensure Your Carry‑On Stays Within Size Limits
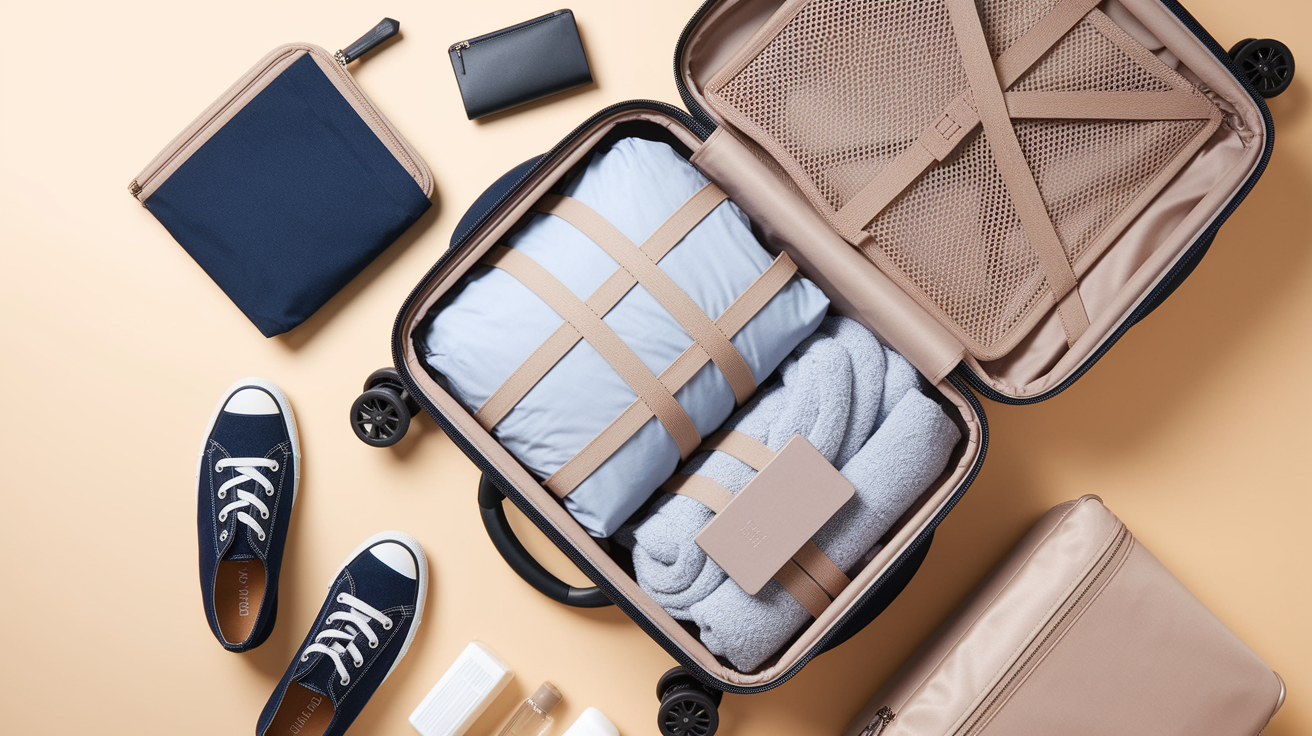
Compression bags squeeze jackets, sweaters, and bulky clothing into a fraction of their normal volume by removing trapped air. Roll the bag to push air out through the one way valve. Some manufacturers claim up to 80 percent space savings on soft items like fleece and down. Packing cubes don’t compress as aggressively, but they create structure inside a soft bag and prevent clothes from shifting into awkward bulges that add depth.
Place heavy items (shoes, toiletries, laptop) near the wheels or the bottom of the bag so the weight sits low and the bag stands stable when you measure it upright. Overstuffing a soft sided bag creates bulges along zippers and seams that can push your depth measurement over the limit even when the main compartment technically fits. Measure your bag after it’s been packed for an hour. Fabric stretches under sustained pressure, and a bag that measured 21 inches tall when you first zipped it may measure 22 inches after sitting overnight.
- Roll clothes tightly instead of folding to reduce air pockets and keep contents compact.
- Use vacuum seal or hand roll compression bags for jackets, sweaters, and other soft, bulky layers.
- Pack dual use items such as a travel pillow that doubles as a stuff sack or a scarf that works as a blanket.
- Fill dead space inside shoes with socks, chargers, or small toiletries to get every cubic inch.
- Distribute weight evenly so the bag doesn’t sag on one side and create a misleading depth measurement.
- Leave 10 to 15 percent of the bag’s capacity empty so you have room for souvenirs or items you buy during the trip.
- Measure the packed bag again the night before your flight. Settling and fabric stretch can add half an inch to each dimension.
Quick Preflight Carry‑On Size Checklist
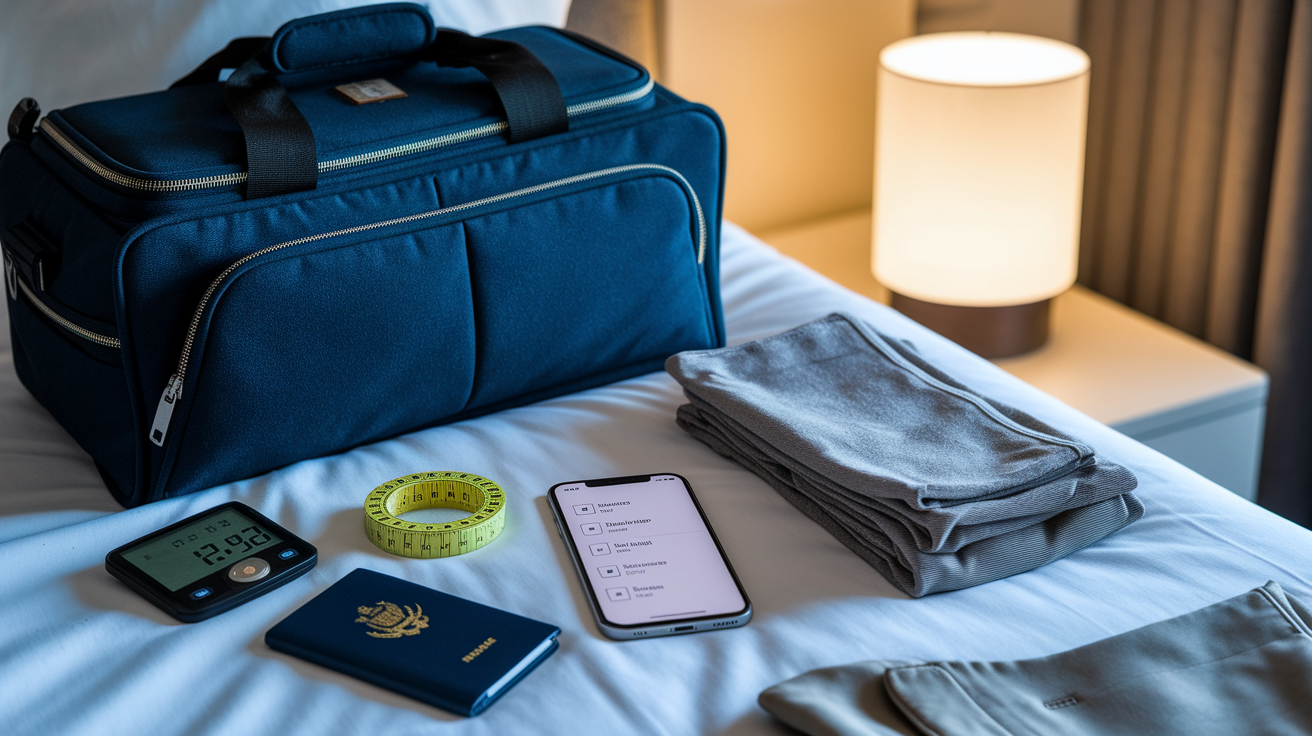
Run through this checklist the night before you leave to catch sizing problems while you still have time to repack. Print it or save it as a phone screenshot so you can verify compliance in under five minutes.
- Measure height from floor to top of bag including wheels and retracted handle (write down the number).
- Measure width at the widest side to side point including pockets and corner bumps (write down the number).
- Measure depth front to back at the deepest point including bulges and external pouches (write down the number).
- Add height + width + depth to calculate total linear inches (compare to airline’s stated limit).
- Weigh the packed bag and confirm it’s under the airline’s carry‑on weight cap (if enforced).
- Check your airline’s baggage policy page to confirm the size and weight limits for your specific fare class and route.
- Push down gently on the top of the bag and re‑measure height to simulate overhead bin compression (if soft sided).
- Inspect all six sides for protruding straps, zippers, or hardware that could catch on a sizer frame.
- Confirm you have at least a one inch margin on each dimension to account for measurement variance and gate agent discretion.
- Pack essential items (medication, one change of clothes, chargers) in your personal item in case the carry‑on gets gate‑checked unexpectedly.
Final Words
Measure your fully packed carry-on on a hard floor with a tape measure and straight edge. Include wheels, handles, pockets and any bulges; measure height, width and depth, then add for linear inches and round up.
Remember how bag construction (soft vs hard shells, telescoping handles) and packing choices change the numbers. Test fit with a homemade sizer and follow the preflight checklist to avoid surprise fees.
Follow these steps and you’ll know how to measure carry on to pass airline sizer — and head to the gate confident.
FAQ
Q: Is a 22 inch carry-on too big? Can a 27 inch luggage be a carry-on?
A: A 22-inch carry-on is usually acceptable for most airlines (typical example 22 x 14 x 9 in). A 27-inch suitcase is generally too large to count as carry-on.
Q: What size is carry-on luggage for Delsey Paris?
A: The carry-on size for Delsey Paris models typically runs about 20–22 inches; check the bag’s listed external dimensions (including wheels and handle) and compare them to your airline’s limit.
Q: How to measure carry-on for a flight?
A: To measure a carry-on for a flight, pack it fully, place on a hard floor, include wheels/handles/pockets, measure height, width, depth with a tape, add H+W+D for linear inches, then round up.